How to Apply Anti Slip Floor Coating (Step-by-Step)
You are about to create a high-traction, durable surface to prevent slip-and-fall accidents on tile, concrete, or marble floors. This process requires 48 to 72 hours from preparation to final cure and demands moderate physical effort and strict attention to detail.
Most property owners fail because they apply the coating over microscopic dust layers or attempt to cure the floor during Bahrain's high-humidity evenings. This causes the epoxy or polyurethane to peel within weeks of application. This guide relies on strict chemical etching and climate-controlled curing protocols to ensure your anti slip floor coating bonds permanently to the substrate.
What You Need Before Starting: Tools, Materials, and Climate Conditions
Applying an anti slip floor coating requires specific industrial materials. Buying cheap residential paint will result in a coating that flakes off under foot traffic within a month.
Essential Degreasers and Acid Etchers
You must strip the floor of all invisible contaminants before applying any coating. Budget 15 to 25 BD for industrial-grade degreasers and muriatic acid. Do not substitute these with household floor cleaners, as they leave a residue that prevents chemical adhesion.
Choosing the Right Anti Slip Floor Coating
You must choose between epoxy and polyurethane based on your floor's location.
- Choose Epoxy: For indoor areas like garages or interior marble staircases. It provides a harder shell and costs less, but it will turn yellow if exposed to direct sunlight.
- Choose Polyurethane: For outdoor pool decks, patios, or exposed concrete. It costs roughly 30% more than epoxy but is UV-stable and flexes slightly, preventing cracks during Bahrain's extreme summer temperature shifts.
Required PPE
You are working with corrosive acids and volatile organic compounds (VOCs). Wear a half-face respirator mask equipped with organic vapor cartridges, non-vented safety goggles, and heavy-duty nitrile chemical gloves.
Targeting the Humidity Window
Bahrain's climate dictates your application schedule. You must apply the coating when ambient humidity is between 40% and 60%. In practice, this means avoiding evening applications, especially from August to October, when coastal humidity spikes above 80%. Target the mid-morning window (9:00 AM to 11:00 AM) for the best curing conditions.
Step 1: Deep Clean and Chemically Etch the Surface
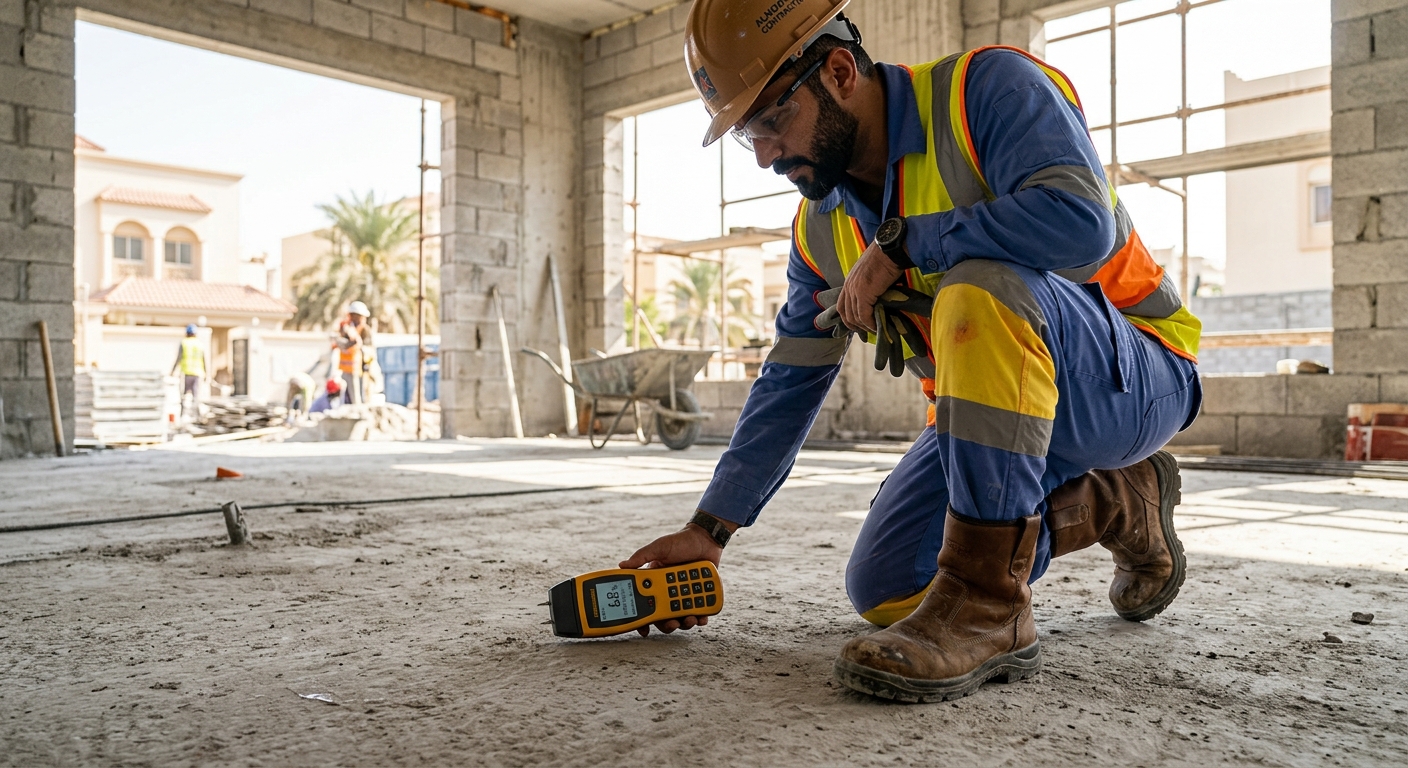
This phase removes invisible barriers and opens the microscopic pores of smooth tiles or concrete to guarantee mechanical adhesion.
Action: Scrub the entire floor using a stiff-bristle broom and an industrial degreaser mixed according to the manufacturer's ratio. Expected Outcome: When you rinse the floor with clean water, the water should sheet out flat. Failure Check: If the water beads up into droplets, oil or wax is still present. You must re-degrease those specific areas before proceeding.
Action: Mix one part muriatic acid with three parts water in a plastic watering can, then pour it evenly over the wet floor. Expected Outcome: The solution will immediately begin bubbling and fizzing like carbonated water. Failure Check: If the acid does not fizz, a previous chemical sealer is blocking it. You must rent a floor grinder to mechanically profile the surface before moving to the next step.
Action: Pour a neutralizing solution (1 cup of ammonia per 4 liters of water) over the etched floor, scrub vigorously, and power wash the entire area. Expected Outcome: The dried floor should feel textured, similar to 120-grit sandpaper. Allow the floor to dry completely for 24 hours.
Step 2: Mix the Coating Compound and Aggregate
This step combines the chemical components and traction grit. You must manage the time-sensitive pot life carefully.
Warning: Once you mix the two-part resin, the chemical hardening process begins and cannot be reversed or paused.
Action: Pour the exact required ratio of Part B (hardener) into Part A (resin base) and mix for 3 minutes using a drill with a mixing paddle set to a low speed (300 RPM). Expected Outcome: The two liquids will blend into a single, uniform color with no streaks. Failure Check: If you mix at a high speed, you will whip air bubbles into the resin that will later pop and leave craters in your finished floor.
Action: Slowly fold the aluminum oxide or polymer aggregate grit into the mixed resin while continuing to run the drill on low speed. Expected Outcome: The mixture will thicken and look like a grainy syrup.
Action: Monitor the temperature of the mixing bucket immediately after blending. Expected Outcome: You now have a "pot life" of roughly 45 minutes to apply the coating. Failure Check: In Bahrain's 30°C+ ambient heat, this pot life can shrink rapidly. If the plastic bucket becomes hot to the touch, the epoxy has "flashed" (prematurely cured). Do not apply it to the floor; you must discard it and mix a new batch.
Step 3: Apply the First Coat Using the W-Pattern Technique
This step distributes the coating and aggregate evenly across the floor without leaving lap marks, roller lines, or bald spots.
Action: Dip a stiff-bristle nylon brush into the coating and paint a 5-centimeter border around the perimeter of the room and around any permanent fixtures. Expected Outcome: You will have a wet border that allows your roller to maneuver without hitting the walls.
Action: Pour a thin ribbon of the anti slip floor coating directly onto the floor and roll it out in a "W" shape across a 1-square-meter section using a 6mm shed-resistant roller. Expected Outcome: The W-pattern will distribute the bulk of the material evenly across that specific grid without pooling.
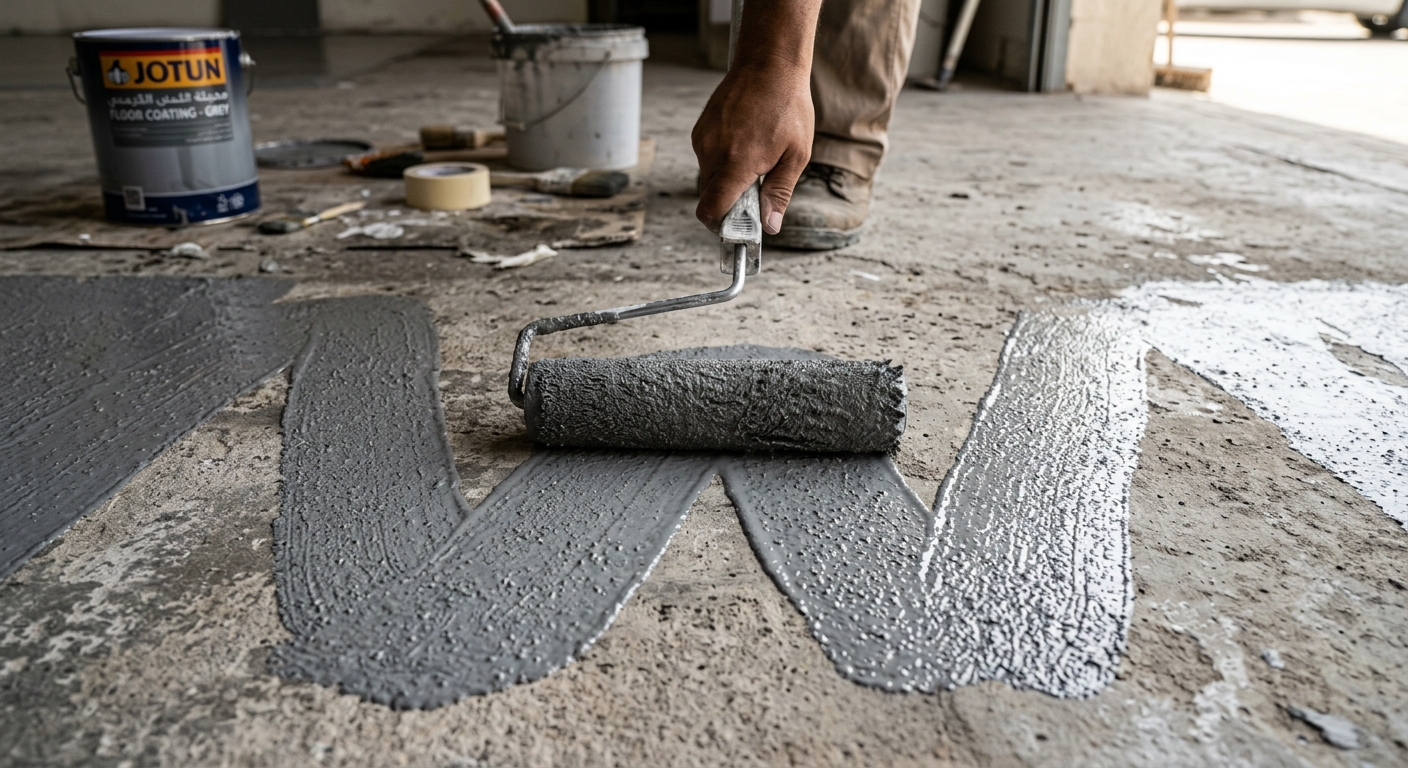
Action: Without reloading the roller, roll perpendicular over the W-pattern (back-rolling) to flatten the material and distribute the grit. Expected Outcome: The 1-square-meter section will have a uniform, textured appearance with no visible roller lines. Failure Check: If you see smooth, bald spots where the traction grit is missing, back-roll that specific area immediately before the wet edge begins to dry. Move to the next 1-square-meter section and repeat.
Step 4: Apply the Sealing Topcoat and Manage Curing
The topcoat locks the traction aggregate into place and protects the chemical bond during the critical hardening phase.
Action: Wait 4 to 6 hours after applying the base coat, then press a gloved finger lightly into an inconspicuous area of the floor. Expected Outcome: The floor should feel tacky, exactly like the adhesive side of masking tape, but it should not transfer any wet resin to your glove. Failure Check: If wet resin sticks to your glove, the floor is not ready. Wait one more hour and test again. Do not apply the topcoat over wet resin.
Action: Roll the clear topcoat over the tacky base coat using the same W-pattern and back-rolling technique. Expected Outcome: The floor will take on a glossy, uniform finish that completely encapsulates the rough anti-slip particles.
Action: Turn off any local split AC units in the room and seal windows and doors for 48 hours. Expected Outcome: The room remains undisturbed while the chemicals cure into a solid plastic state. Failure Check: If you leave AC units running, condensation can drip onto the curing floor and create permanent white spots. If you leave windows open, Bahrain's Shamal winds will blow fine desert dust into the wet topcoat, ruining the finish.
Common Mistakes That Cause Coating Failure
Even with perfect preparation, application errors will ruin the integrity of the coating. Watch for these specific failure modes.
Applying During High Evening Humidity
When ambient humidity exceeds 60%, moisture settles on the uncured resin. This causes "epoxy blush," a chemical reaction that leaves a greasy, white, cloudy film on the surface. Blushed epoxy will not bond with the topcoat and requires aggressive sanding to fix.
Using Thick-Nap Paint Rollers
Property owners often buy standard 12mm or 18mm wall paint rollers for floor coatings. Thick-nap rollers shed lint into the sticky resin and whip microscopic air bubbles into the finish. Always use a 6mm (1/4-inch) shed-resistant phenolic core roller specifically designed for adhesives and epoxies.
Failing to Rinse the Neutralizing Wash
If you do not thoroughly power wash the ammonia neutralizing solution off the floor, it dries into an invisible chemical film. When you apply the anti slip floor coating over this film, it blocks the mechanical bond. Within a few weeks of foot traffic, the coating will peel off in large, rubbery sheets.
How to Know It Worked: Verification and Traction Testing
You must verify the mechanical bond and the slip resistance before opening the area to regular foot traffic.
Action: Wait a full 72 hours after the final topcoat application, pour a cup of water onto the floor, and firmly push the sole of a wet rubber shoe across the surface. Expected Outcome: The shoe should grip the floor immediately, offering high resistance without sliding.
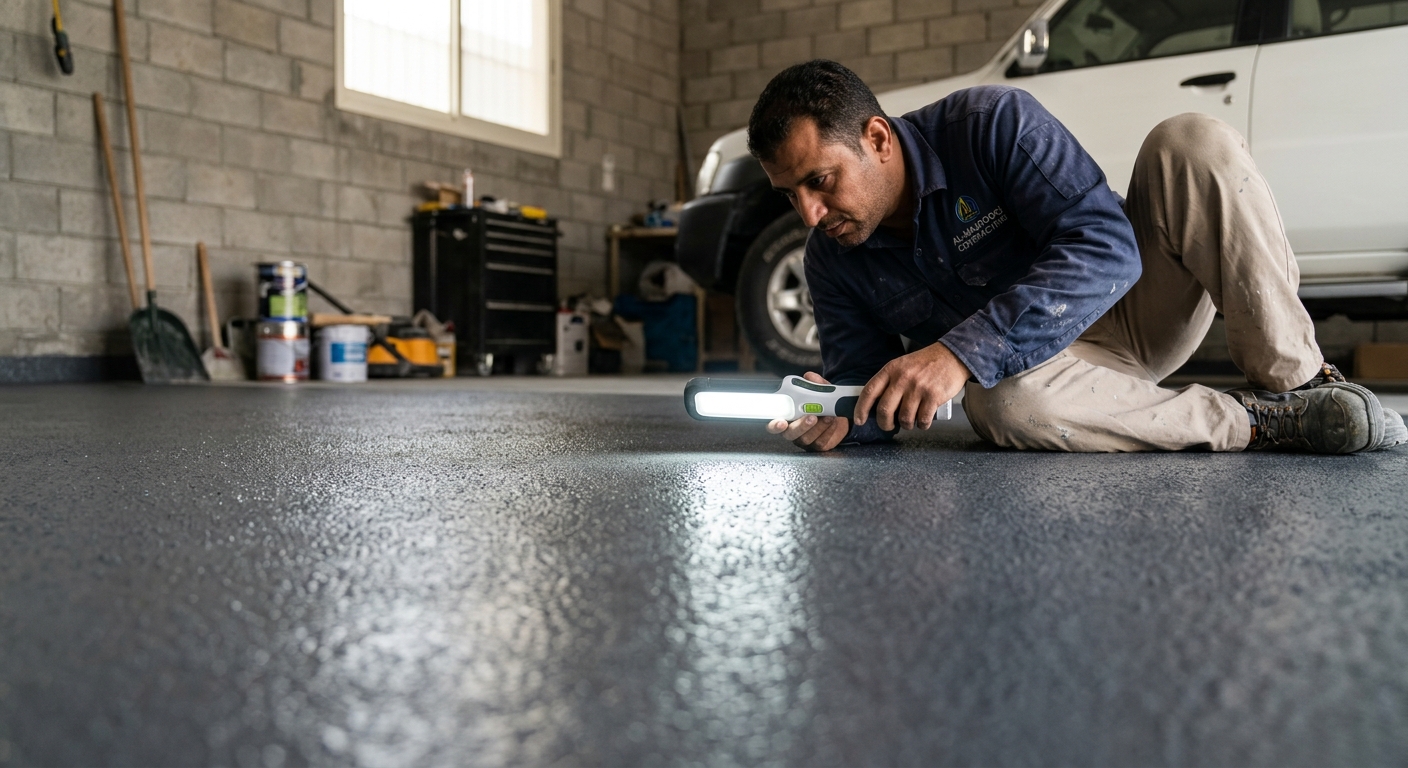
Action: Place a strong LED flashlight on the floor, pointing horizontally across the surface to cast harsh, angled lighting. Expected Outcome: The angled light will reveal a uniform, sandpaper-like shadow pattern across the entire floor. Failure Check: If the light reveals smooth, glossy puddles with no grit shadows, the aggregate sank to the bottom during mixing. These areas lack slip resistance.
Action: Tap the handle of a screwdriver across various sections of the floor, listening to the sound and feeling for softness. Expected Outcome: The floor should feel rock-hard and produce a sharp, solid tapping sound. Failure Check: If you find soft, tacky spots or hear a hollow sound, the resin and hardener were poorly mixed, or the floor delaminated. You must mechanically scrape out the soft spot, wipe it with a solvent like xylene, and reapply the coating to that specific patch.
Conclusion
Successfully applying an anti slip floor coating requires meticulous surface degreasing, precise chemical mixing, and strict humidity control. If you discover soft, tacky areas after the 72-hour mark, you cannot fix them by simply adding more topcoat; the resin-to-hardener ratio was incorrect, and the affected sections require mechanical scraping and reapplication.
Once the surface passes the wet-traction test, you must change how you clean the floor. Establish a non-abrasive cleaning routine using neutral pH cleaners (like a highly diluted standard dish soap). Harsh acidic cleaners or stiff mechanical scrubbers will eventually wear down the encapsulation layer, causing the aggregate grit to pop out and destroying your floor's slip resistance.